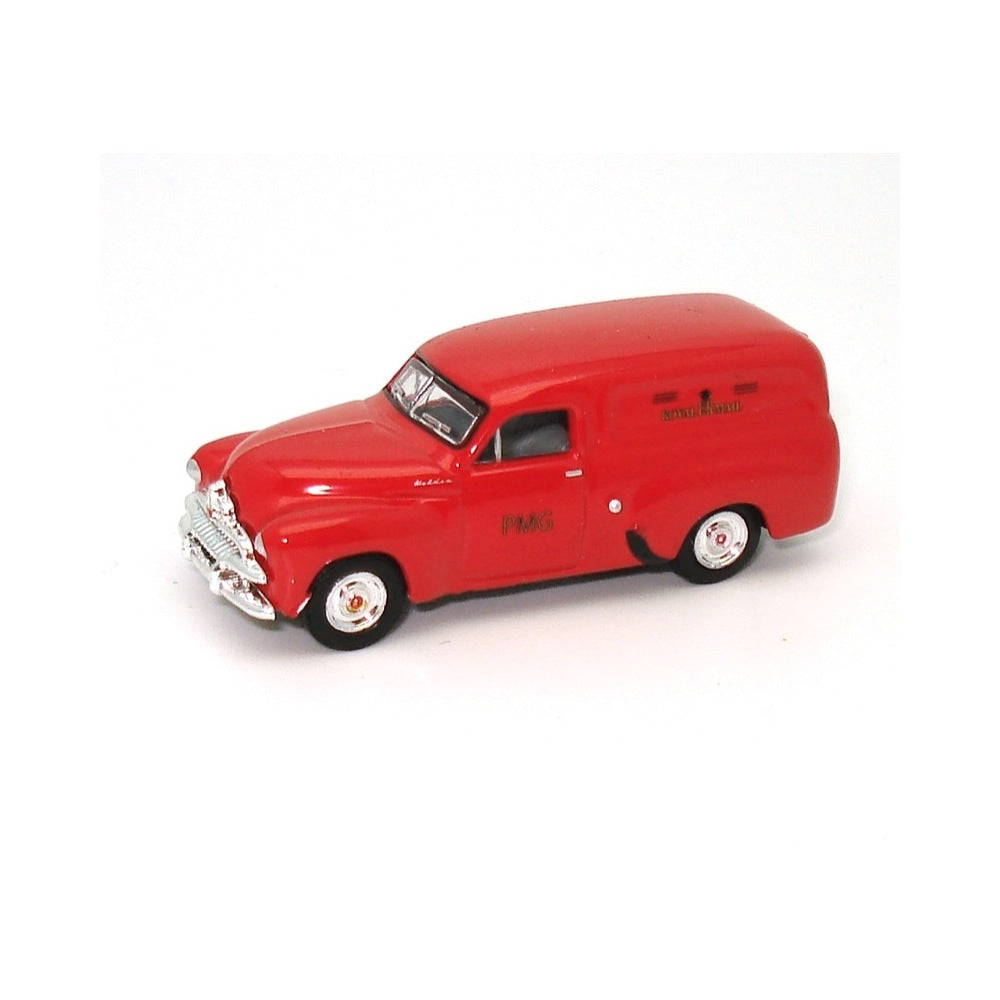

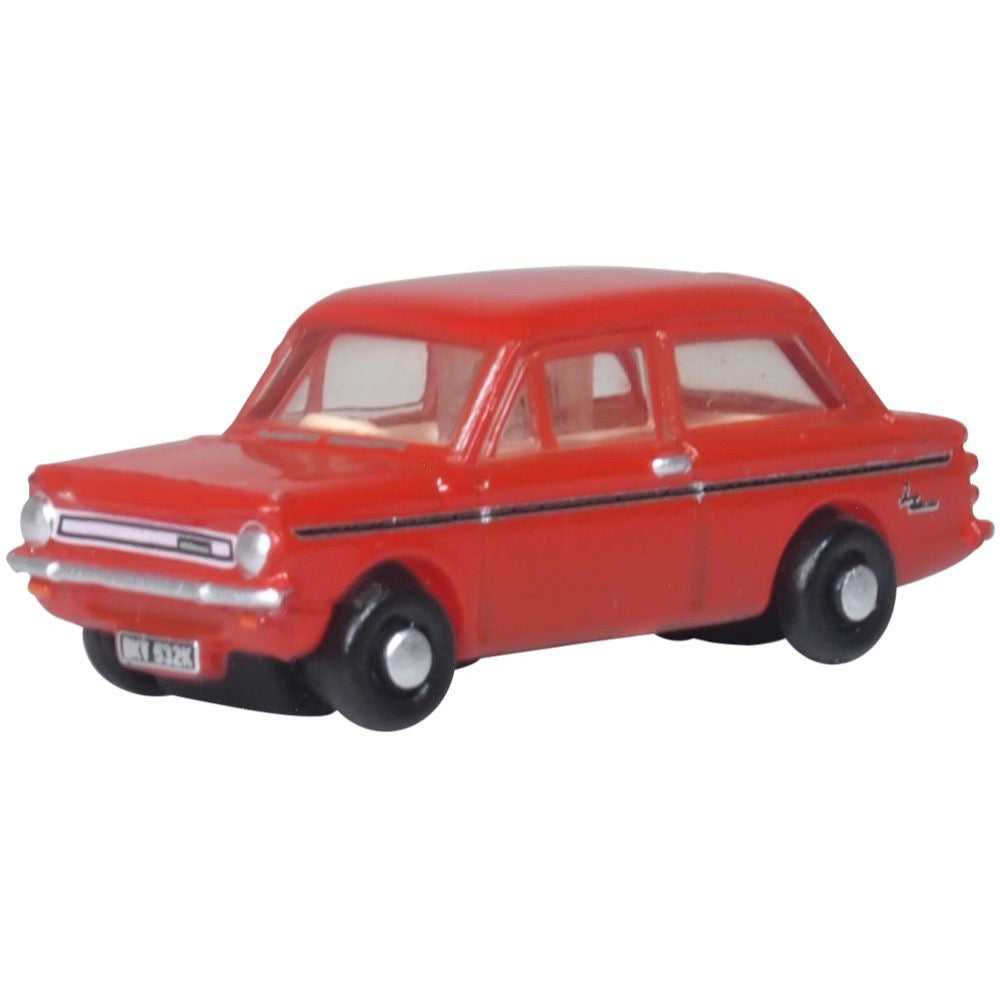
Oxford NHI003 1/148 Hillman Imp Firebrand Red
6.00
$
<p>The Hillman Imp from the 1960s-1970s is registered BKV 532K from 1971-72. Developed as a direct competitor to the Mini, it was quite a nippy little car for its time, featuring a rear 875cc engine, rear wheel drive and a unique rear opening hatch.</p>
<p>Decorated in bright red with contrasting ivory seating and black interior trim, the exterior includes a chrome finish to the wheels and the Hillman marque across the front of the bonnet. An additional detail sees the Imp Super lettering on the rear wings behind the rear wheels, which indicates a superior fixtures and fittings specification to the standard version, manufactured between 1965 and 1974, although mechanically there was not much difference.</p>
<p>Our eagle-eyed readers will recall seeing this exact same model in 1:76 scale previously and we are pleased to re-introduce it here for the delight of our smaller scale enthusiasts.</p>

Oxford NCA030 1/148 Bedford CA Van Hockings Ice Cream
6.00
$
<p>The 1:148 scale Bedford CA, presented in the cream and red colour scheme of the 'real thing' with a white masked roof, solid red skirt and red graphics. Registered 57 TMA, the graphics boast the award winning home-made ice cream, produced in Appledore. A tooling modification to the Oxford Bedford CA tooling sees the addition of two ice cream cones positioned at the front of the roof above the windscreen, while the rear warns following motorists to stop and watch for children.</p>
<p>The North Devon family firm has been making ice cream since1936, founded by David Hocking with one van - a 1928 Morris Cowley- which he converted into an ice cream van. His son David joined the business after the War, along with other family members along the way who have expanded both the business and the fleet across the years. Today, the Hocking family, under the management of grandsons Geoff and Neil and great grandson Andrew, still operate out of Appledore near Bideford and sell their famous and unique ice creams across the County from their fourteen company vans. The recipe for their vanilla ice cream has been handed down through the generations and has won numerous National Ice Cream Competitions, so if you are in Devon on holiday, make a bee-line for Hockings for the ultimate ice cream experience!</p>
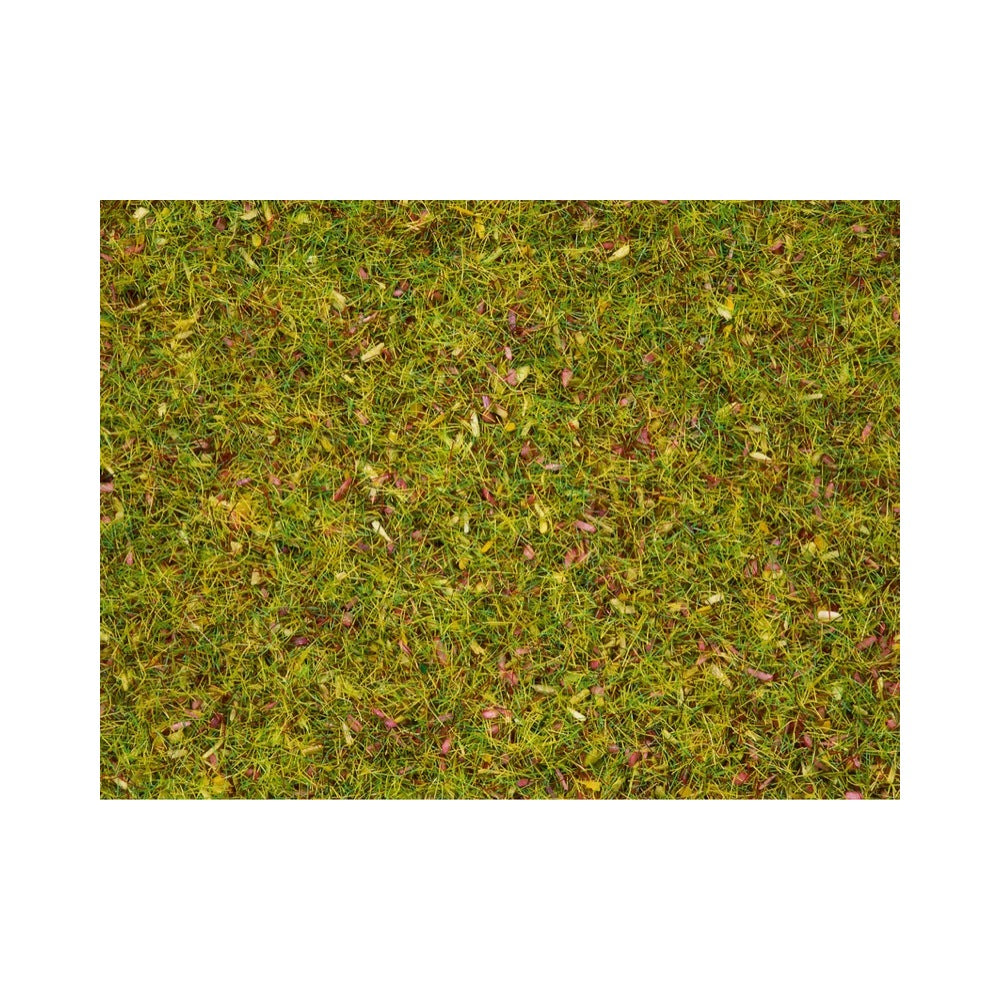
Noch 08330 Static Flower Meadow Grass 20g
3.00
$
<p>Noch is the model landscaping specialist that helps show you how to create a great diorama or a special scene for model railroading tabletop or wargaming.</p>

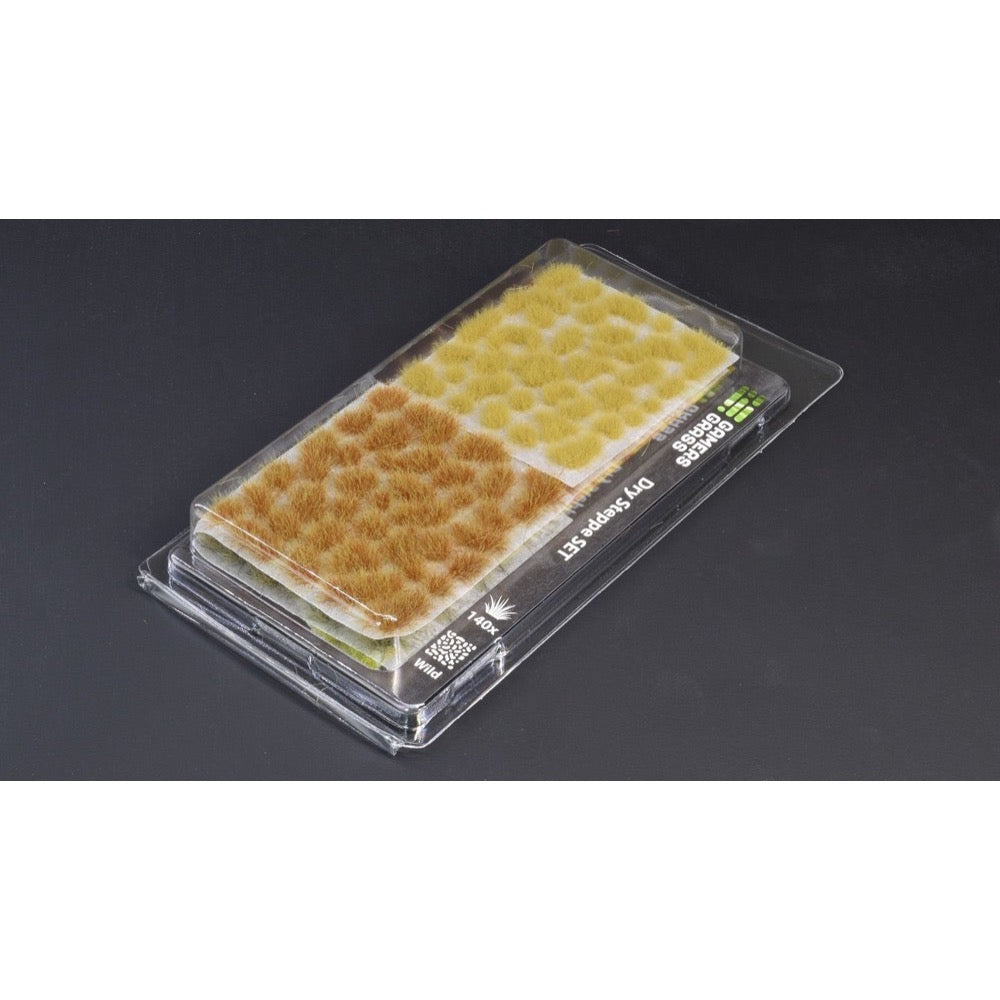
Woodland Scenics RG5122 Green Grass Large Roll 127x254cm
41.00
$
<p>Woodland Scenics, along with its PineCar and Scene-A-Rama divisions, manufactures model scenery, gravity-driven pinewood racecars and educational arts and crafts. Founded in 1975, Woodland Scenics is considered the prime innovator-inventor of realistic model railroad scenery and the industry leader responsible for setting the current industry standards.</p>
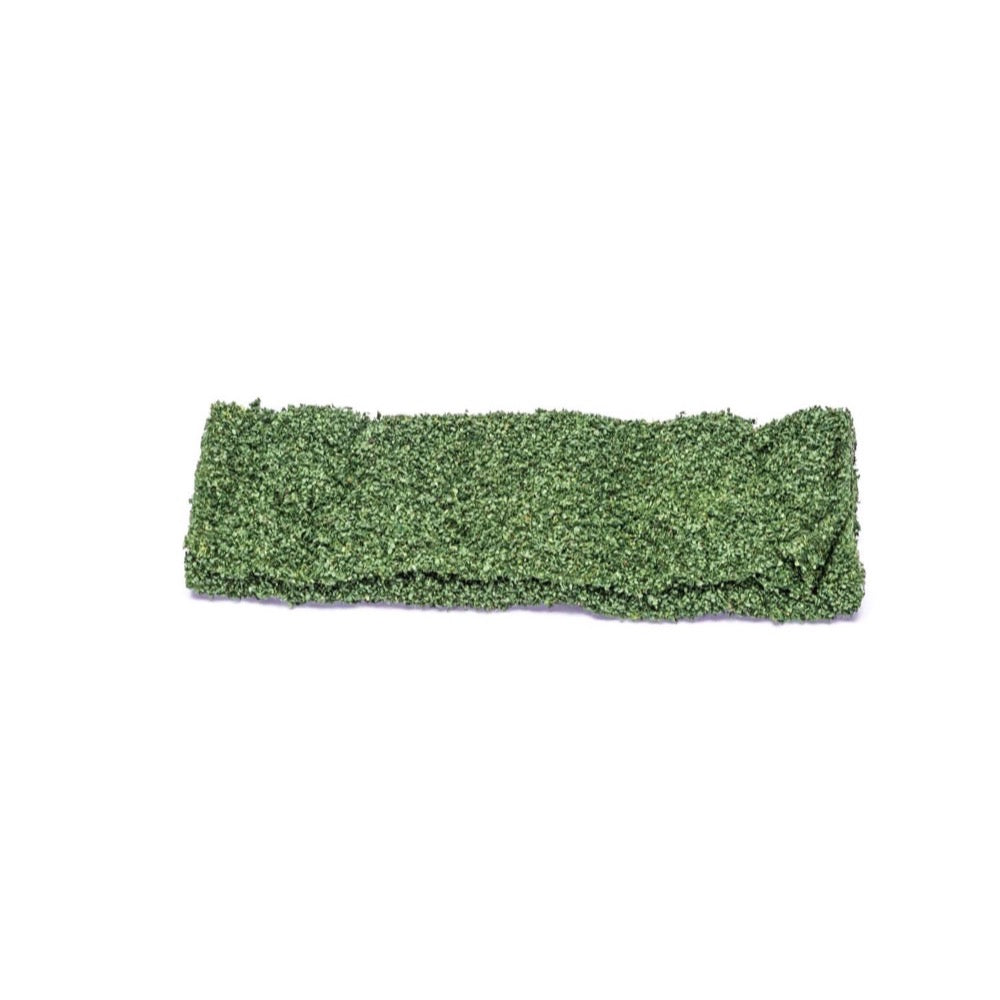
Hornby R7192 Foliage - Leafy Dark Green
11.00
$
<p>A new Leafy Foliage in dark green is now available!</p>
<h3>Specification</h3>
<ul>
<li>Item Scale: 1:76 Scale 00 Gauge</li>
<li>Finish: Painted</li>
<li>Gauge: OO</li>
</ul>
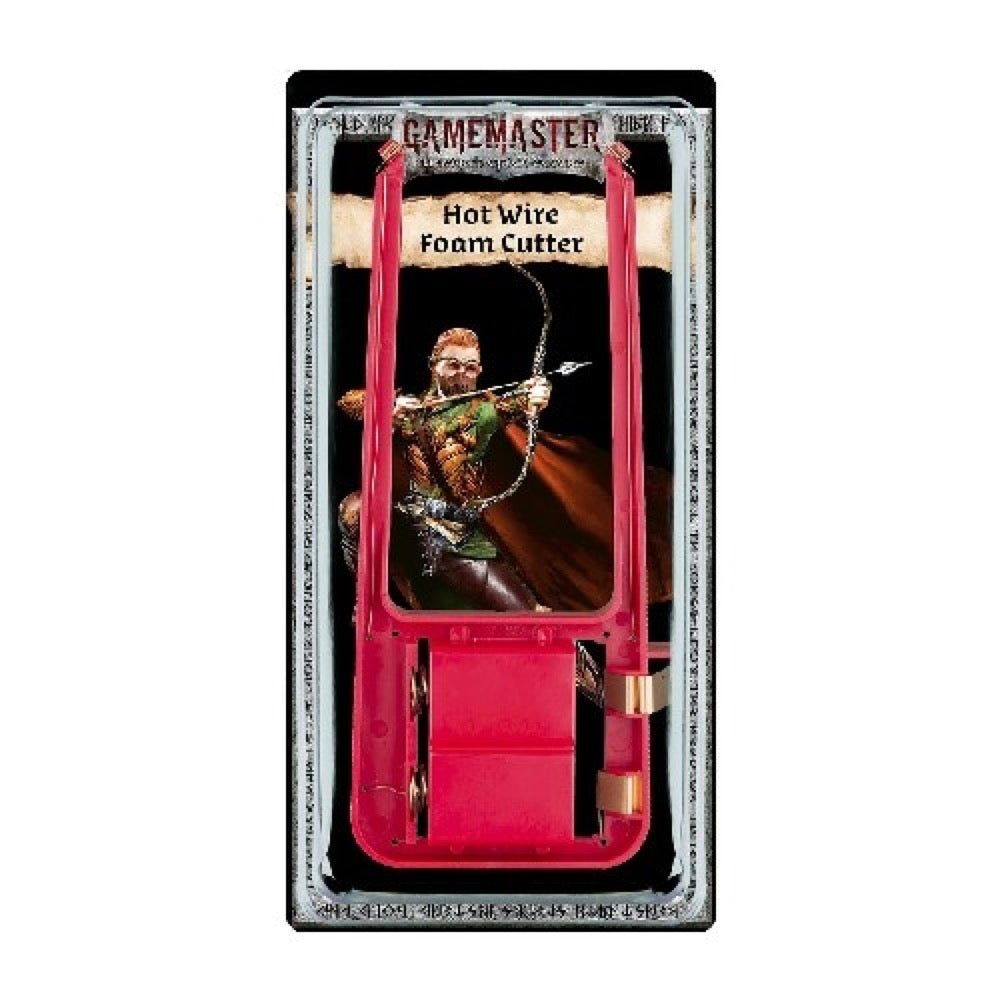
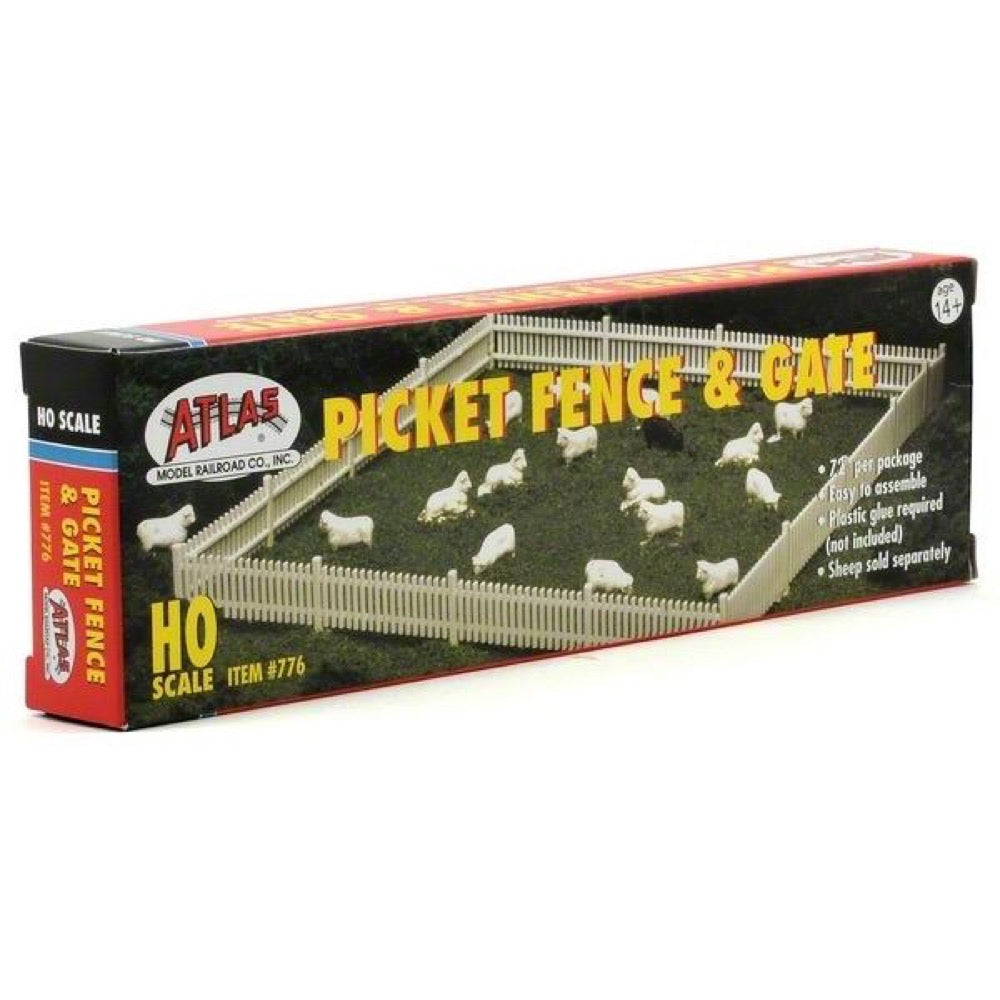
The Army Painter GM1002 GameMaster Hot Wire Foam Cutter
14.00
$
<h3>Create stunning scenery and cool terrain with the How Wire Foam Cutter</h3><ul>
<li>No more messy foam cutting</li>
<li>Cut through Polystyrene and XPS foam with accuracy and ease</li>
<li>Easy to operate with one hand</li>
<li>Can reach 300℃/572℉</li>
</ul><p>Have you ever wanted to create your own wargaming terrain, architectural models, or landscape dioramas? Then, The Army Painter’s Hot Foam Wire Cutter is a must-have tool to include in your hobby arsenal.</p><p>Foam is the most common and versatile material when building landscape scenery, dungeon backdrops, or wargaming terrain. While it is light, cheap, and can be painted and sculpted, it can be hard to cut.</p><p>However, with The Army Painter’s Hot Wire Cutter, it is easy to cut both XPS foam and Styrofoam and create remarkable levels of detail. Simply turn on the Hot Wire Cutter and pass the wire through the foam to make clean, precise cuts or adjust for angled cuts. It’s a versatile tool that can be used to craft a wide range of terrain features, from natural landscapes like hills, mountains, and rivers to man-made structures such as castles, fortifications, and urban terrain.</p><h3>Precise, controlled, and clean cuts - every time!</h3><p>Creating vast, awe-inspiring landscapes requires precision and finesse. The Hot Wire Foam Cutter provides precise and controlled cuts, allowing you to create intricate details and realistic features; a level of precision that is challenging to achieve with alternative tools. It is incredibly precise and gives you clean, accurate and fast cuts – every time!</p><h3>Customise your terrain and scenery</h3><p>Wargaming terrain and scenery often require custom shapes and designs to match specific game scenarios or themes. A hot wire foam cutter allows you to easily create custom pieces according to your requirements. Tailor your terrain to match any scenario or theme you envision. Create forests, mountains, cityscapes, or alien landscapes – you are no longer limited to pre-made terrain options; the only limit is your imagination.</p><p>The Army Painter’s Hot Wire Foam Cutter is an invaluable tool for hobbyists, model-makers, and wargaming enthusiasts when it comes to creating realistic and customised terrain and scenery for your games. It makes the process of crafting and assembling wargaming landscapes more efficient and precise, resulting in visually appealing and functional gaming environments.</p><p>Includes 4 extra wires.</p><p>Batteries NOT included - Uses 2x C-Batteries.</p><h3>How to use</h3><ul>
<li>Hold activation button to quickly heat wire to 300°</li>
<li>Move slow for precise cuts – and protect wire</li>
<li>Max cut size: 4 cm × 12 cm / 1.5 " by 4.7 "</li>
<li>Use in a well-ventilated area</li>
</ul><h3>Changing wires The set includes 4 extra wires, to change out the wire</h3><ul>
<li>Take out the batteries</li>
<li>Take out all old wire parts</li>
<li>Put in the tip of the new wire and twist together the end to hold it</li>
<li>Repeat on both ends</li>
<li>Put in the batteries and you are ready to go</li>
</ul>